
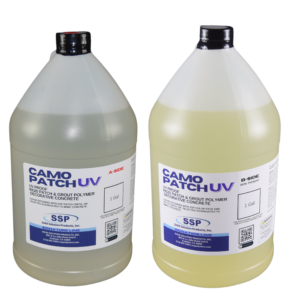
Camo Patch UV
$364.00
CAMO PATCH UV is a high-performance concrete repair solution designed to restore floors quickly and seamlessly. Whether you’re filling pits, repairing cracks, or rebuilding damaged joints, this versatile system delivers strong, lasting results that blend naturally with surrounding concrete. Its advanced formula bonds deeply for a secure hold, resists moisture, and stays true to color—without yellowing from sunlight or indoor UV lighting. Perfect for both small touch-ups and major repairs, CAMO PATCH UV helps your concrete look its best for years to come.
Color Chart | click here
TDS | click here
SDS Part A | click here
SDS Part B | click here
PRODUCT USES
CAMO PATCH UV polymer can be used neat or extended with colors and selected aggregates to mimic the concrete. Can be colored with iron oxide powders or SSP liquid pigments. Use as a grout for concrete floors that are rough, pitted and have fine/small cracks.
APPLICATIONS
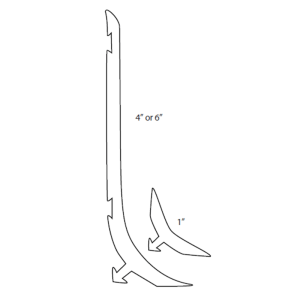
- Rebuilding Floor Joint Edges
- Grade Matching
- Shallow & Deep Spalls
- Color Matching
- Pop-Outs/Bolt Holes
- Small & Large Cracks
- Grout Coat Resurfacer
CAMO PATCH UV ADVANTAGES
- DOES NOT DISCOLOR FROM UV RAYS
- WITH STAND HEAVY FLOOR GRINDING
- MOISTURE TOLERANT
- NON-BRITTLE, NOT LIKE EPOXY
- CAN BE FEATHEREDGED
- HIGHLY FUEL & CHEMICAL RESISTANT
- MEETS USDA REQUIREMENTS
SURFACE PREPARATION
ALL SURFACES MUST BE CLEAN AND DRY. Cracks, damaged joints and spalls should be free of dirt, oils, dust, latent and loose materials. Shot-blast or grind the concrete surface before applying a grout coat. Square cutting of the repair area is optional.
APPLICATION
Spalls, Cracks & Joint Repair Mortar 2 parts liquid (1 A & 1 B) can be added to 2 to 4 parts sand. For deep repair, up to 2 parts pea gravel can be added. When making a mortar, keep it fluid and wet (not dry/stiff) so it is self-priming. You can always sprinkle sand over the repair if it puddles.
MIXING (Start with small batches)
“Repair Mortar”
1. Measure and pour 2 parts sand into mixing bucket and hold 1 to 2 part to be added once liquid is in. Add more sand if wet. Note: When using dry color pigment, it will need to be mixed in with the sand before starting measurements.
2. Measure 1 part A and 1 part B separately.
3. Pour B first into bucket with sand, mix a little, then add A.
4. Mix with margin trowel; add more sand if needed.
5. Mix quickly to wet all the sand for approx. 1 minute
6. Place in repair.
“Surface Grout”
1. Measure out 1 part A and 1 part B separately. If neat, go to step 3
2. If using fine aggregates, place about 2 parts into mixing pail. (Adjust grout as needed.)
3. Pour B first, mix with fines, then add A into mixing pail. (Note a squeeze bottle with spout can be used.)
4. Mix with margin trowel for about 30 seconds and pour onto floor and spread.

Reviews